Secret one
Right at the very start of the level, you'll see a bunch of gas cylinders against a wall - shoot them to blow open a hole into a secret room
Before: 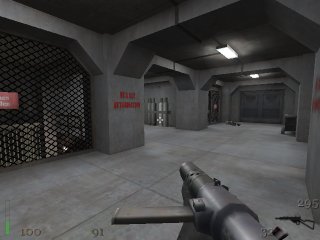
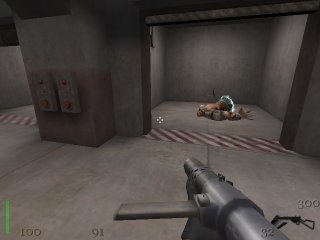
After: 
Secret two
Deeper into the facility you'll encounter a number of the Nazi's X-creatures, in this case "lopers" (the electric monster thingies). The last of these is confined to a locked pen - you'll have to open that pen and kill the loper (hint - the Reich appears to make its immortal super soldiers out of
cheap plastic, so zap them briefly with the flamethrower and then retire to a safe distance while they burn up).
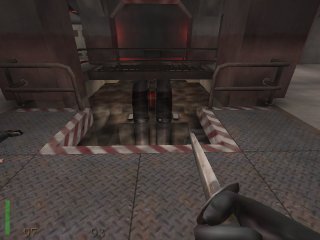
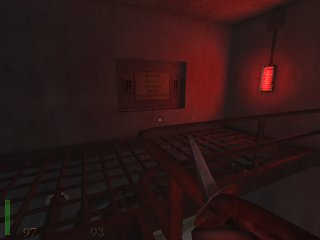
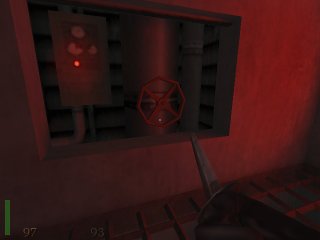
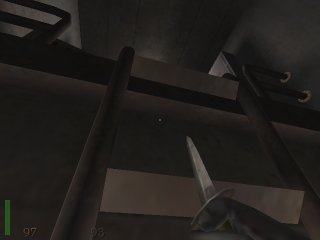
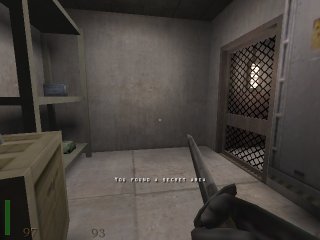
In the pen where you killed that last loper
you'll notice a crack in the far wall. Shoot the crack, creating a larger hole
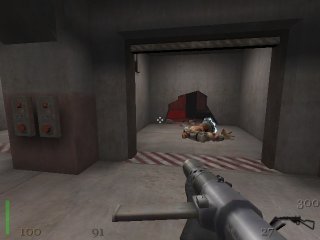
and you'll get access to a secret room beyond
Secrets three and four
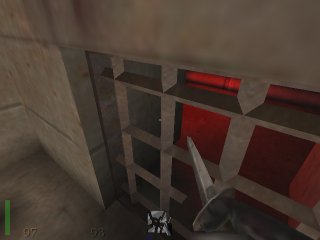
In the area that you come to just before the sub pen, you'll find this flooded shaft:
Dive into the water, and behind those pipes you'll find a grate:
Destroy the grate:
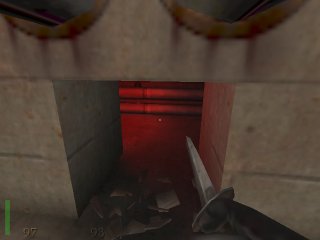
and swim through it, and then up to the first secret area:
Now climb that ladder and walk around the passageways until you find this hatch:
Open the hatch to reveal a large valve:
Turn the valve and retrace your steps back to dry land. You'll discover that the valve has flooded the second shaft (located near to the first shaft):
Now dive into this shaft - between the two main sections of it you'll find this small opening in the ceiling:
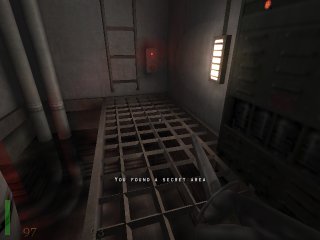
swim into it and climb the ladder:
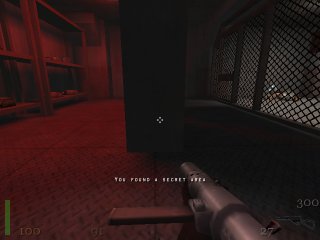
and you'll emerge at a second secret area:
This document is Copyright © 2001-2024 W.Finlay McWalter. Thanks to many generous contributors.
Rights to copy, modify and distribute are as specified in the Open Content Licence.