Secret one
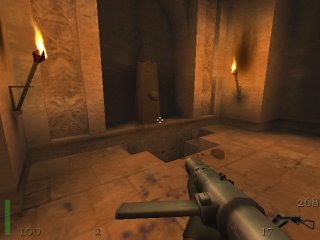
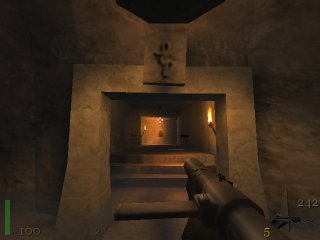
Find the cross, picured below:

Staying a little out of the way, shoot the cross. It falls over and smashes through the floor, opening a passage to a hidden chamber underneath:
Secret two
In the large chamber with the three rather nasty traps, you'll flip some switches and you can ride the central pillar up to the gallery level.
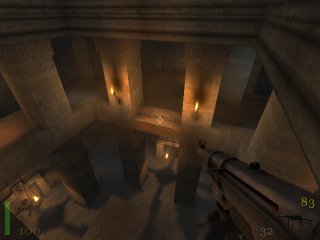
There is a secret on the gallery level, but you access it by flipping the switches downstairs in the correct order. The order isn't obvious, but you did receive a clue in the previous area - each trap has an icon above its entrance, and the order to flip them in is shown in the second CRYPT1 secret (see the last frame on that page).
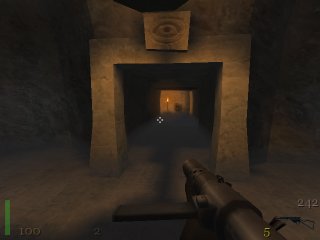
First, hit the switch that is protected by the swinging-spike thingy
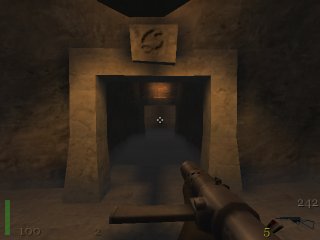
then the switch protected by the spike-pit and clashing rocks trap
and finally the switch that's in the rotating knives room
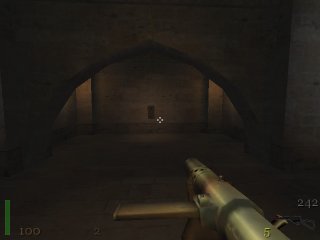
Then ride the moving pillar up to the gallery and flip the switch inside the large alcove
This makes two zombies smash their way through the opposite wall. Kill them and go to the holes from which they emerged
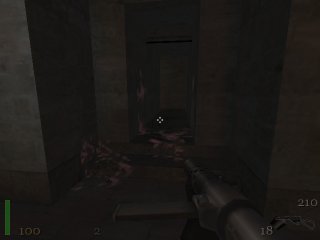
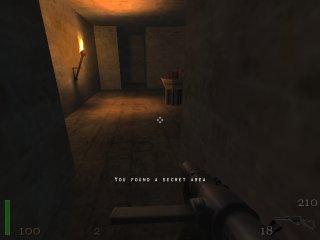
You can go through the holes into a secret treasure chamber
This document is Copyright © 2001-2024 W.Finlay McWalter. Thanks to many generous contributors.
Rights to copy, modify and distribute are as specified in the Open Content Licence.